
In an earlier workflow we used USB thumb/pen drives to collect the translated output from translators. This was collected on one computer, where it was put together, missing pieces were discovered, and the whole project was eventually uploaded to Door43.
One of the problems with this workflow is that translationStudio is not always successful in exporting a project, and it is easy to remove a USB drive before the file has finished being written.
Syncthing resolves both of these problems at the cost of more configuration before the event.
The first step is to install Syncthing. Installers can be found at https://syncthing.net/. For Windows, we recommend SyncTrayzor, which adds a nice system tray icon, and some additional features. For Android, I recommend the F-Droid version, but the Google Play version works just fine. Mac systems may have a little difficulty getting the server to start on every login — contact the help desk if this is an issue for you.
Once Syncthing is installed, it needs to be configured. Specifically, we want to turn off Syncthing’s usage of the Internet because it can cost a lot to send that information using cell phone data.
The first time you start Syncthing and connect to the Web interface, you’ll see this window:
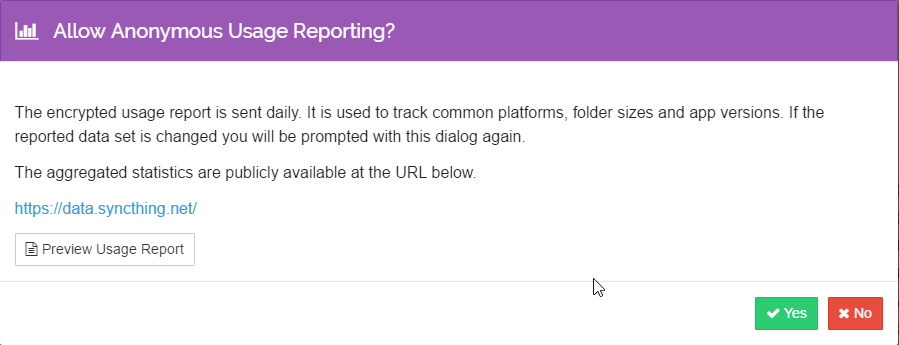
Normally there is no problem with sending anonymous data to a software developer, but we don’t want to pay for that data usage, so click “No”.
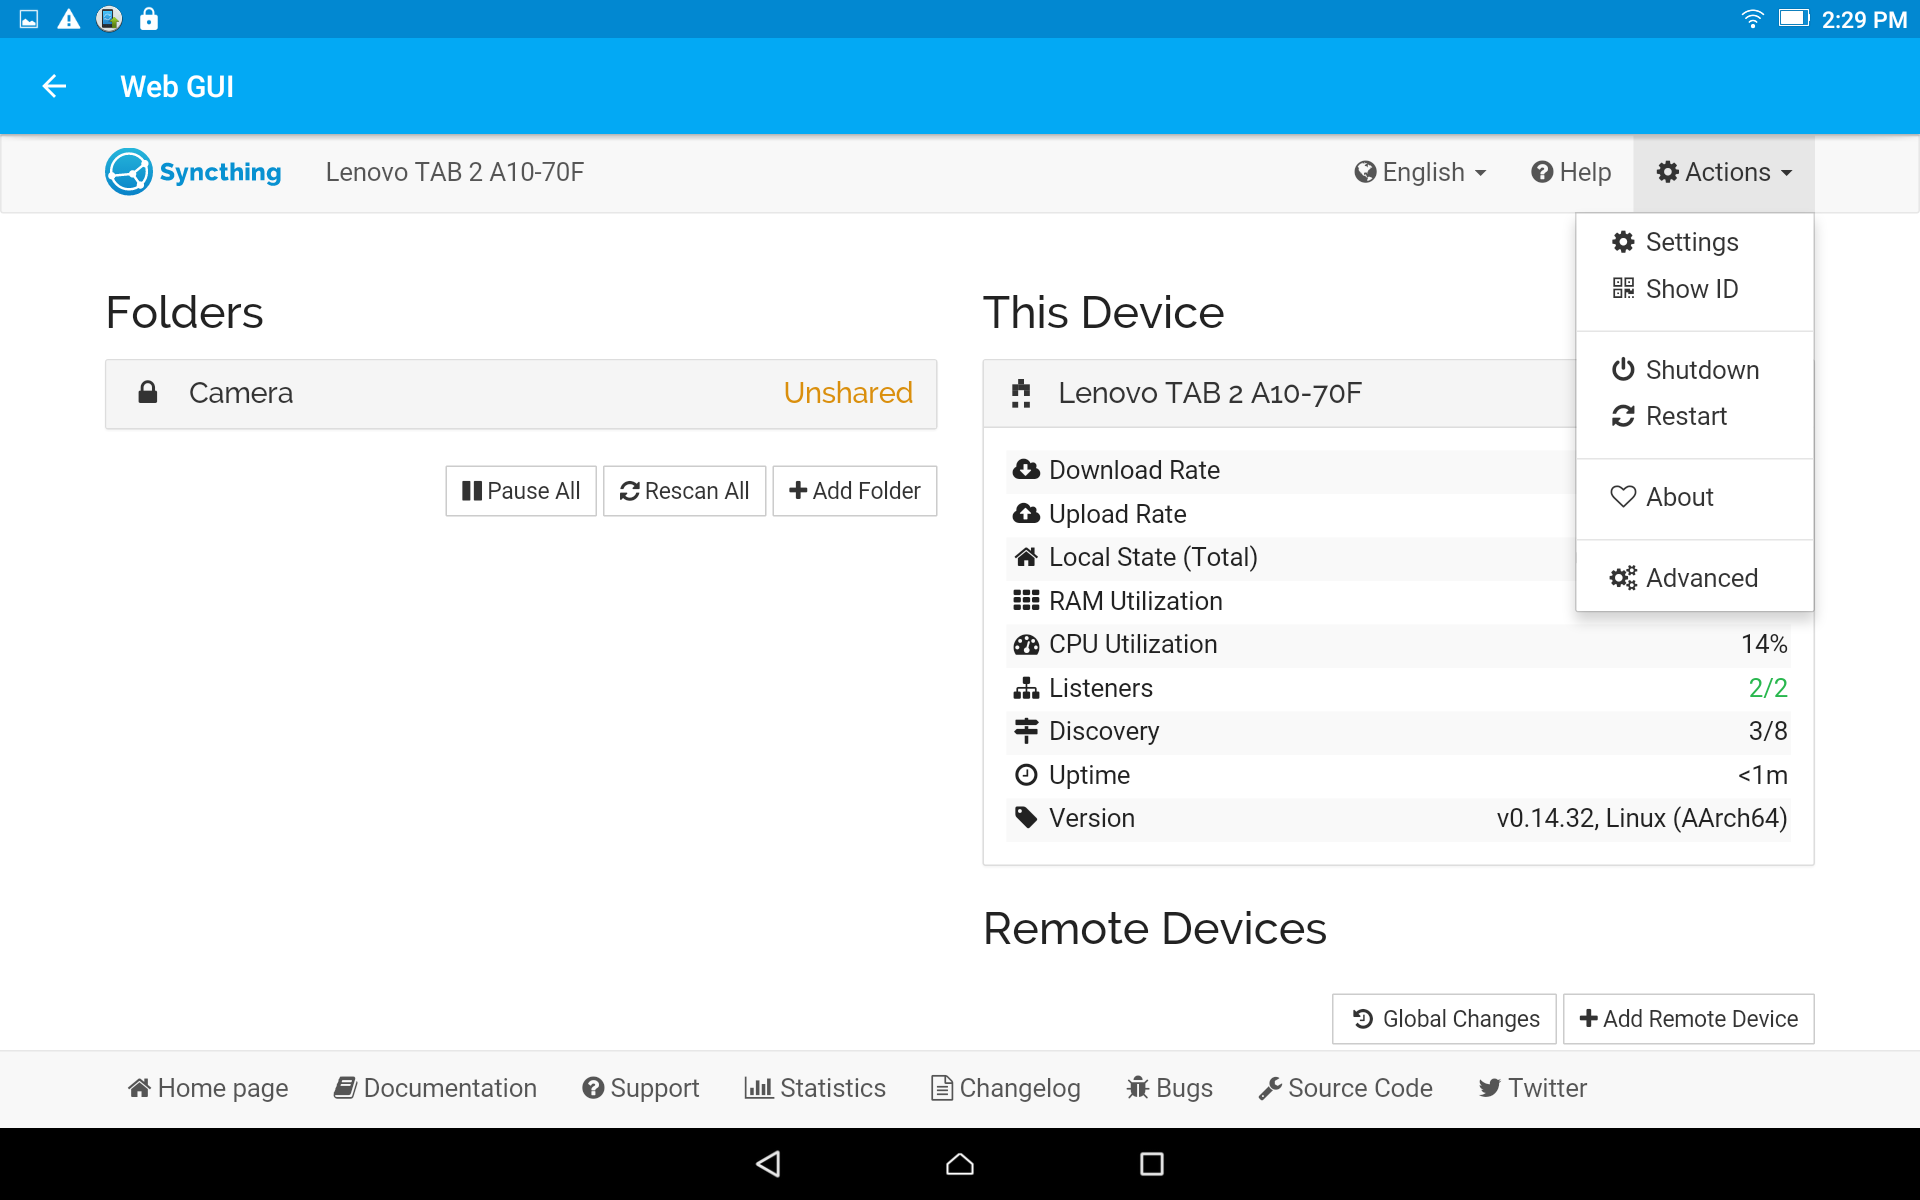
Next, we want to change some of the settings, so click on Actions and then Settings. (Note that this screenshot is from Android. On Android there is an additional step to get here.)
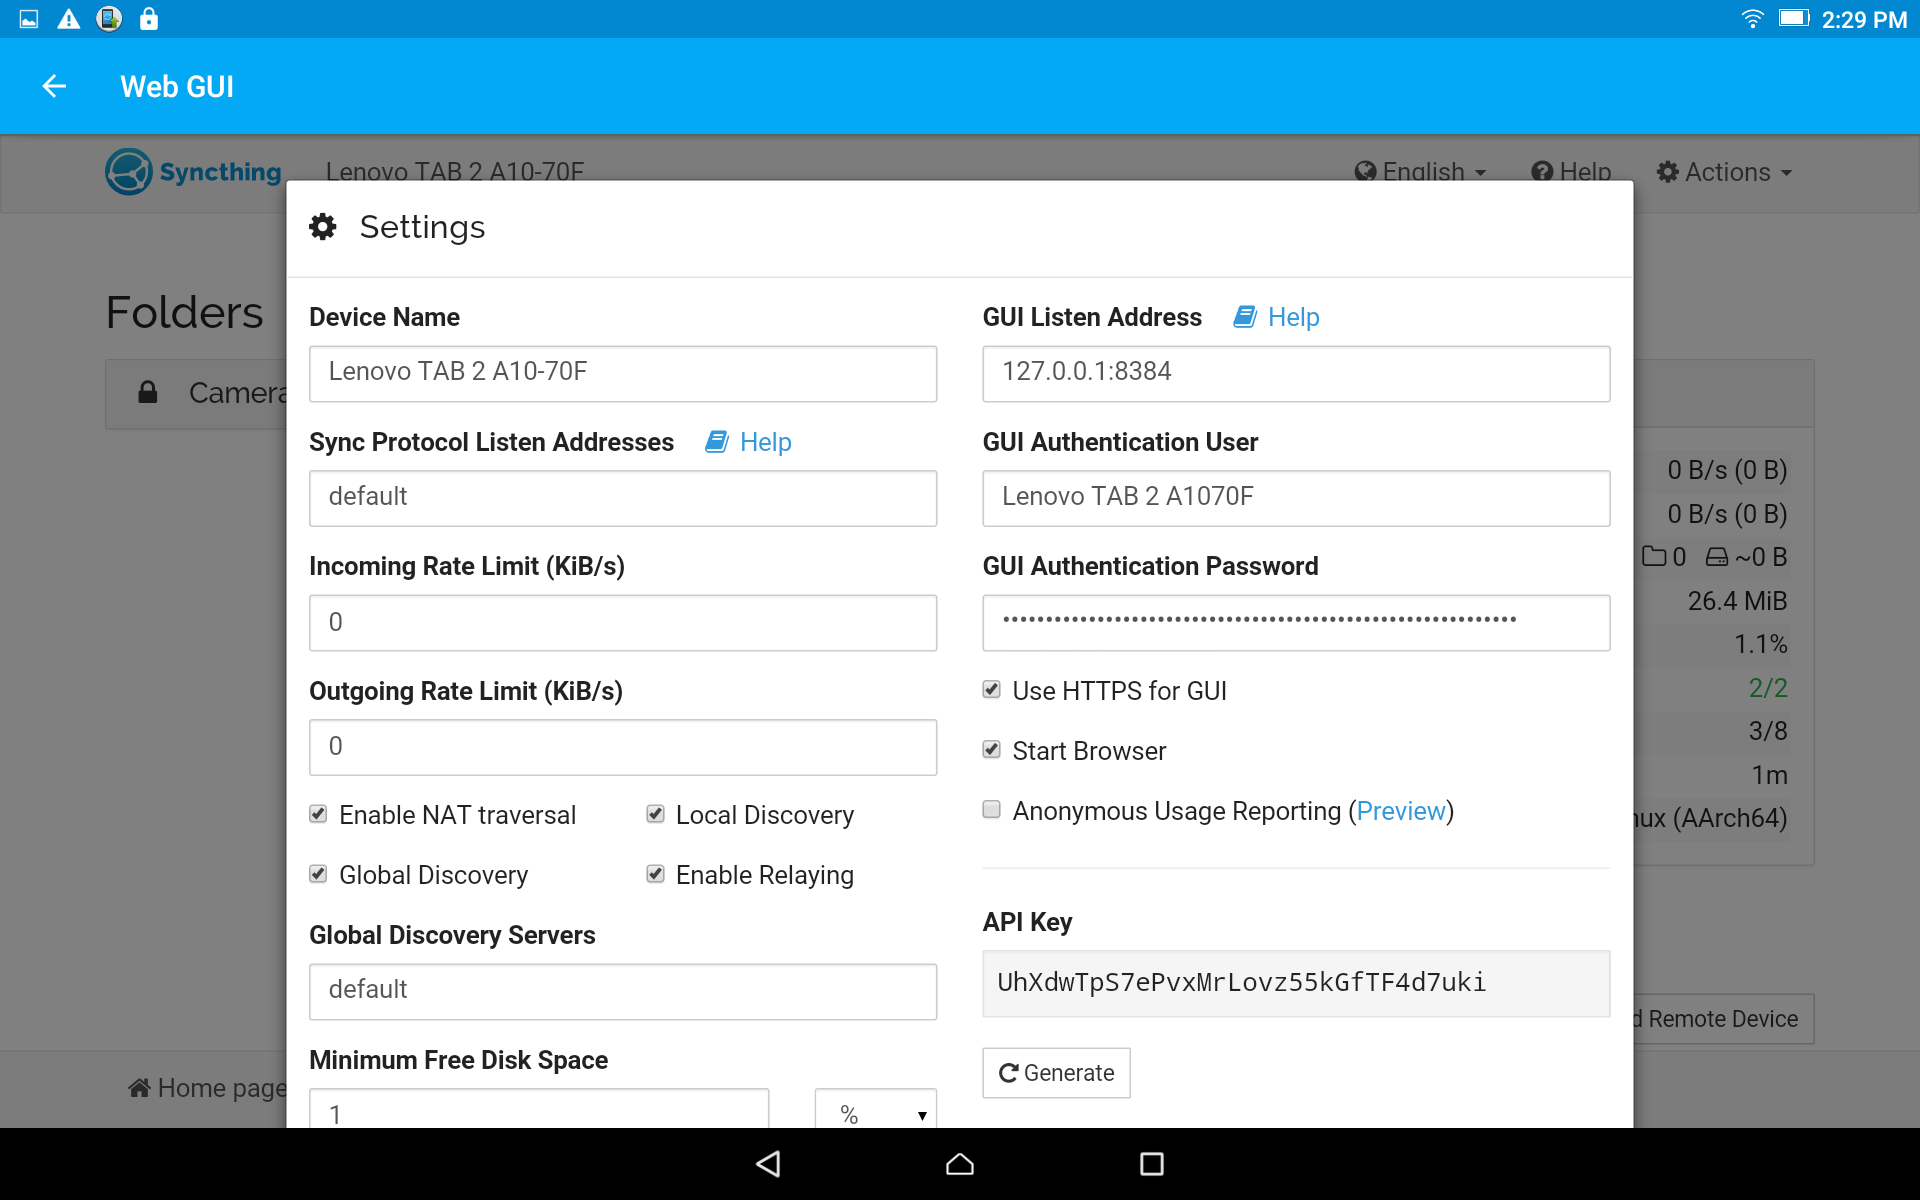
Make sure each device has a unique Device Name. We suggest using the name on the sticker on the computer or tablet. This will make it easier to find the device if there’s a problem with the sync.
Also, turn off the Enable NAT traversal, Global Discovery, and Enable Relaying. Leave Local Discovery turned on. In this way, we won’t be accessing the Internet to try to sync, but we will still be able to find other computers on the local network.
On the current version of the Syncthing web gui, the Device Name is set on the General tab of Settings, and the network access check boxes are under Connections, so they won’t all be visible together, like in this screenshot.
Now, further setup will differ depending on whether you’re setting up the Collection Computer or a Translator’s computer.
Translator’s Computer
Each translator’s computer is configured in the same way. In the main interface, under Folders, click the ![]() button and add the targetTranslations, backups, and automatic_backups folders.
button and add the targetTranslations, backups, and automatic_backups folders.
- For Android, there are only translations and backups folders, both located in the translationStudio folder in the main file system.
- For Windows, Linux, and MacOS, backups and automatic backups are located in the translationStudio folder in the user directory.
- The targetTranslations folder is probably the most important one to sync, and it is also the most difficult to find.
- On Windows it is in the user’s hidden AppData folder. You can find it by going to %localappdata%\translationstudio in Windows Explorer.
- On Linux it is in the user’s hidden .config folder: ~/.config/translationstudio
- On MacOS it is in the user’s hidden Library folder: ~/Library/Application Support/translationstudio
When these folders are shared on the Translator’s Computer, all that remains is to connect them to the Collection Computer. On the Translator’s Computer, click Add Remote Device and enter the Device ID of the Collection Computer. If the translator has a tablet, the QR code of the Collection Computer can be scanned for this Device ID. The Device ID and QR code are displayed when you choose Show ID under Actions on the Collection Computer. When configuring many laptops, it can be helpful to copy the Device ID of the Collection Computer to a text file on a USB drive.
Collection Computer
When the Translators’ Computers add the Device ID of the Collection Computer, the Collection Computer will be asked if the Translator’s Computer should be added:

Important! If you choose Ignore, you will have to manually add the device later. Normally, choose Add Device. If, for some reason, you cannot, click Later.
We now come to the most complicated part of the configuration. It is important to keep track of what is being synced with each computer. Create a folder in a place that is easy to access. (Some use the Desktop, others, the Documents folder.) I suggest naming the folder for the sync task, i.e. Mozambique MAST, or something like that. It can also be for a particular language group or set of language groups.
Inside the folder, create a folder for each computer that will be connecting. So, in the case of the device above, we would create Mozambique MAST/Moto G (5)/ as the folder for this device. Then, as you share the three folders (targetTranslations, backups, automatic_backups) you will save them as Mozambique MAST/Moto G (5)/targetTranslations, etc. In this way, you will be able to check the progress of any specific computer by checking the synced folders on the Collection Computer.